Ultimate Guide to Fire-Resistant Metal Roofs
A metal roof is not automatically fire-rated. If you live in Los Angeles or another wildfire-prone area, the part that matters most is the full roof assembly - the metal panel, underlayment, deck, vents, edges, and closures working together.
Here’s the short version: Class A is the top roof fire rating, but metal usually gets that rating only when it is installed as part of a tested system under ASTM E108 or UL 790. That matters because embers can travel more than 1 mile, and in California about 4.5 million homes sit in WUI zones. In the January 2025 Palisades Fire, about 85% of destroyed structures were lost in the first 60 to 90 minutes.
If I were reviewing this topic as a homeowner, these are the main takeaways:
- Metal panels do not equal a Class A roof by themselves
- The tested assembly listing matters more than the panel brochure
- Wood decks need the right fire-rated underlayment
- Standard attic vents can be a weak point in WUI areas
- Standing seam usually leaves fewer entry points for embers than exposed-fastener panels
- Valleys, eaves, flashing, gutters, and roof penetrations need close attention
- Cleaning debris and checking vents, closures, and flashing helps the roof keep its fire rating over time
- For a 2,000-square-foot California home, standing seam metal roofing often runs about $24,000 to $42,000 installed

Fire-Resistant Metal Roof: Class A Assembly Components & Cost Breakdown
sbb-itb-e33e3b1
Quick comparison
| Topic | What I’d check first | Why it matters |
|---|---|---|
| Fire rating | Class A assembly listing | The rating applies to the full system, not just the metal |
| Deck | Plywood/OSB vs. noncombustible deck | Wood decking needs the right barrier below the metal |
| Underlayment | Exact product in the tested assembly | A substitute can void the listed rating |
| Vents | ASTM E2886 compliance | Helps block ember entry into the attic |
| Panel profile | Standing seam vs. exposed fastener | Fewer gaps can mean fewer ember entry points |
| Valleys/eaves | Metal flashing, drip edge, closures | These are common trouble spots during a fire |
| Upkeep | Debris removal and annual checks | Leaves, pine needles, and failed seals can weaken the system |
So if you want a fire-resistant metal roof, the goal is simple: don’t shop for panels alone - shop for a tested roof system and clean installation details.
Fire Ratings and Roof Assembly Basics
What Class A Means Under UL 790 and ASTM E108
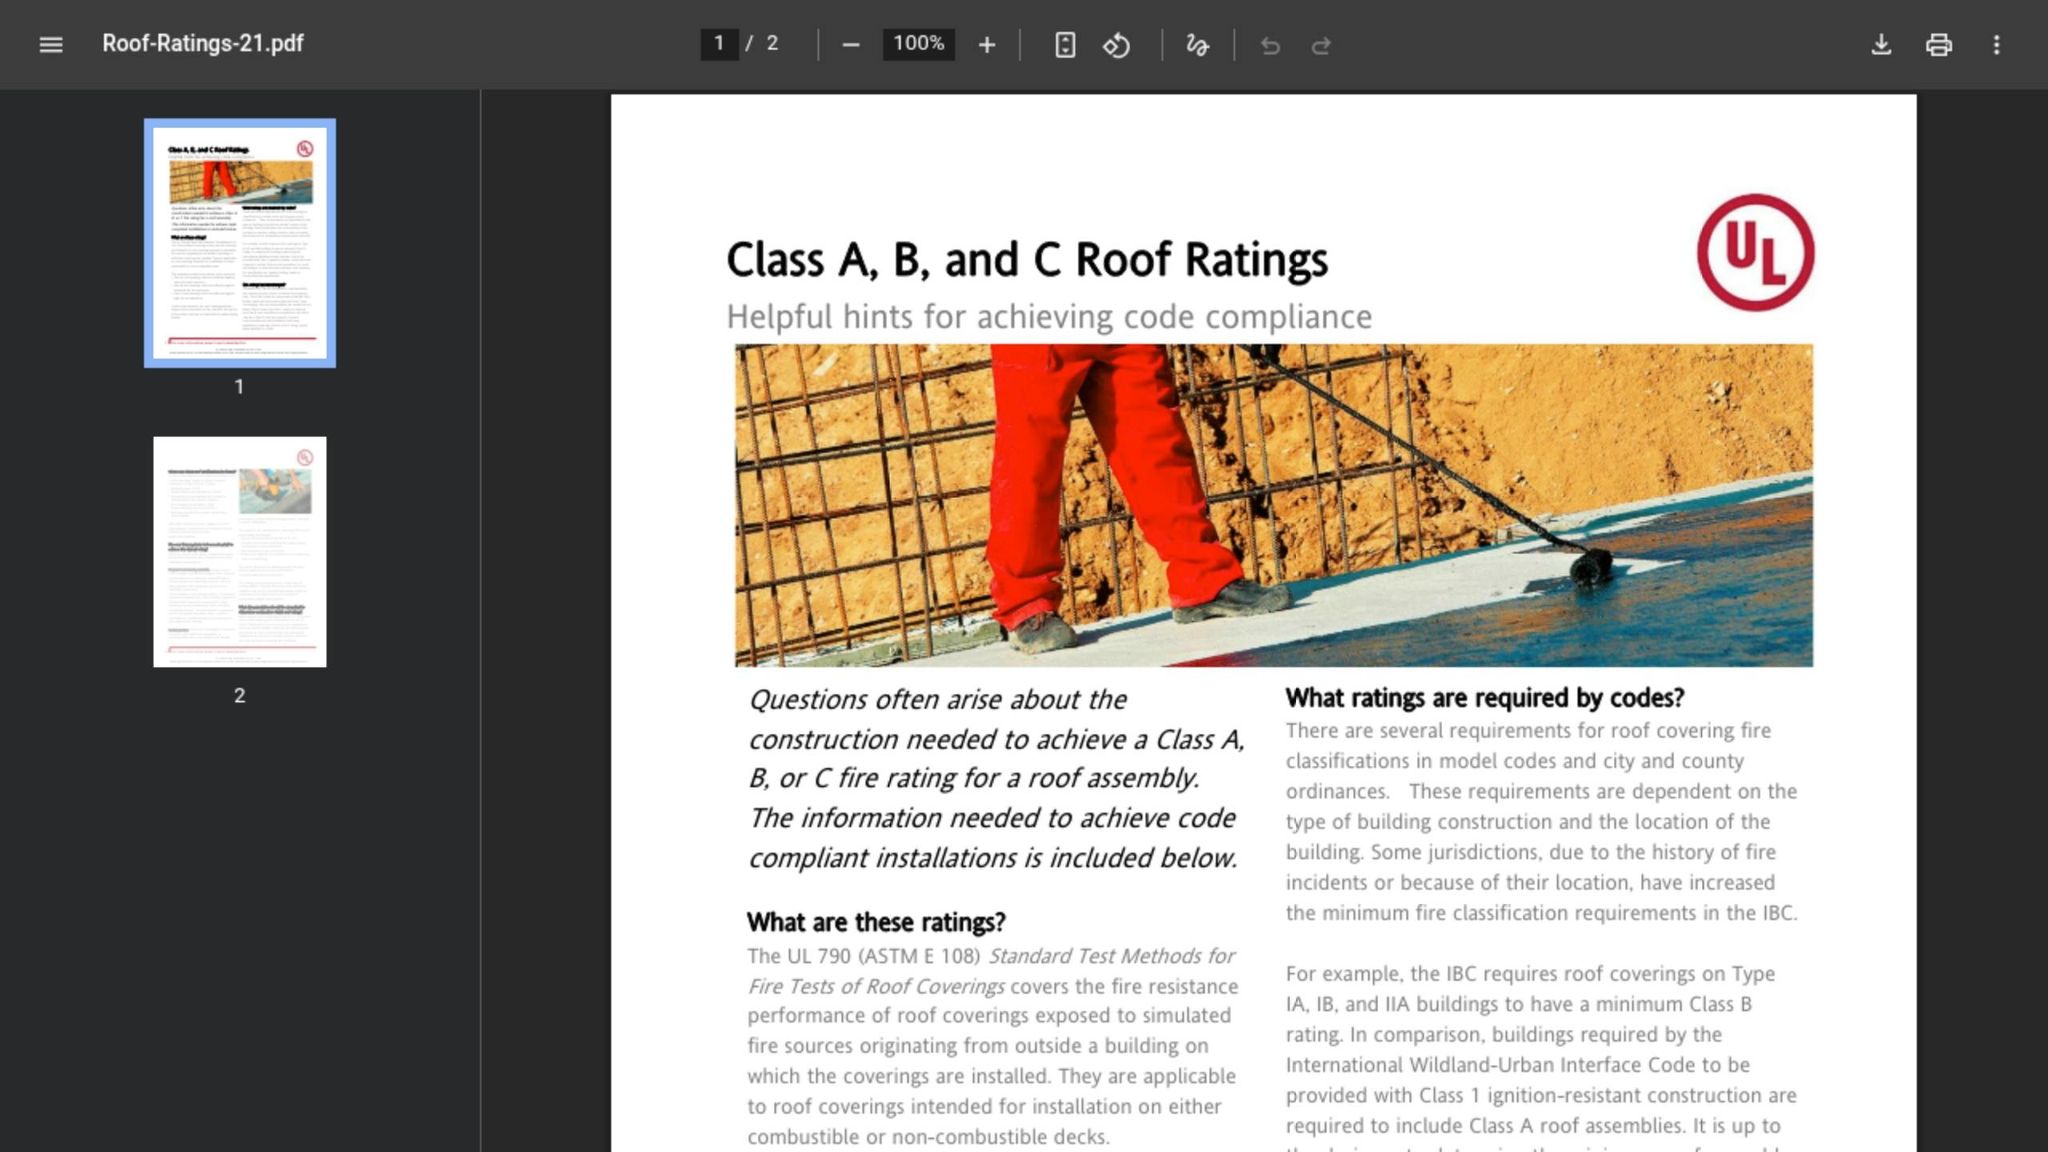
Class A is the highest U.S. roofing fire rating. And here's the part many homeowners miss: it applies to the tested roof assembly, not just the metal panel you can see.
So when a product sheet, permit form, or contractor quote says Class A, it means the full roof assembly has been tested to handle severe fire exposure without igniting or letting fire spread to the deck below.
That testing is governed by two standards: ASTM E108 and UL 790. Both look at roofing assemblies using three specific tests:
- Burning Brand Test - A flaming wood brand is placed on the roof; the deck must not ignite.
- Spread of Flame Test - Flame spread must stay within the allowed limit.
- Intermittent Flame Test - The assembly faces repeated flame exposure under simulated wind.
Class B and Class C allow more flame spread, so they do not meet California WUI rules. For homes in California WUI zones, Class A is the rating to aim for.
There's also one key difference between roofing materials. Some products, like clay tile, are stand-alone Class A. Metal roofing usually is not. In most cases, metal reaches Class A only when it's installed with the exact underlayment and decking components used in the tested assembly.
When you review bids, ask for the tested assembly listing from an approved agency such as UL or Intertek. Don't settle for a brochure that says the panel is "fire-resistant". The 2025 County of Los Angeles Residential Code says it plainly:
"Where Class A, B or C roof assemblies are required, they shall be tested in accordance with ASTM E108 or UL 790. Where required, the roof assembly shall be listed and identified as to class by an approved testing agency." - 2025 County of Los Angeles Residential Code
How Decking, Underlayment, and Venting Affect the Rating
Once you know what Class A means, the next step is making sure the roof's layers and openings don't weaken it. In plain English: the weakest part sets the rating.
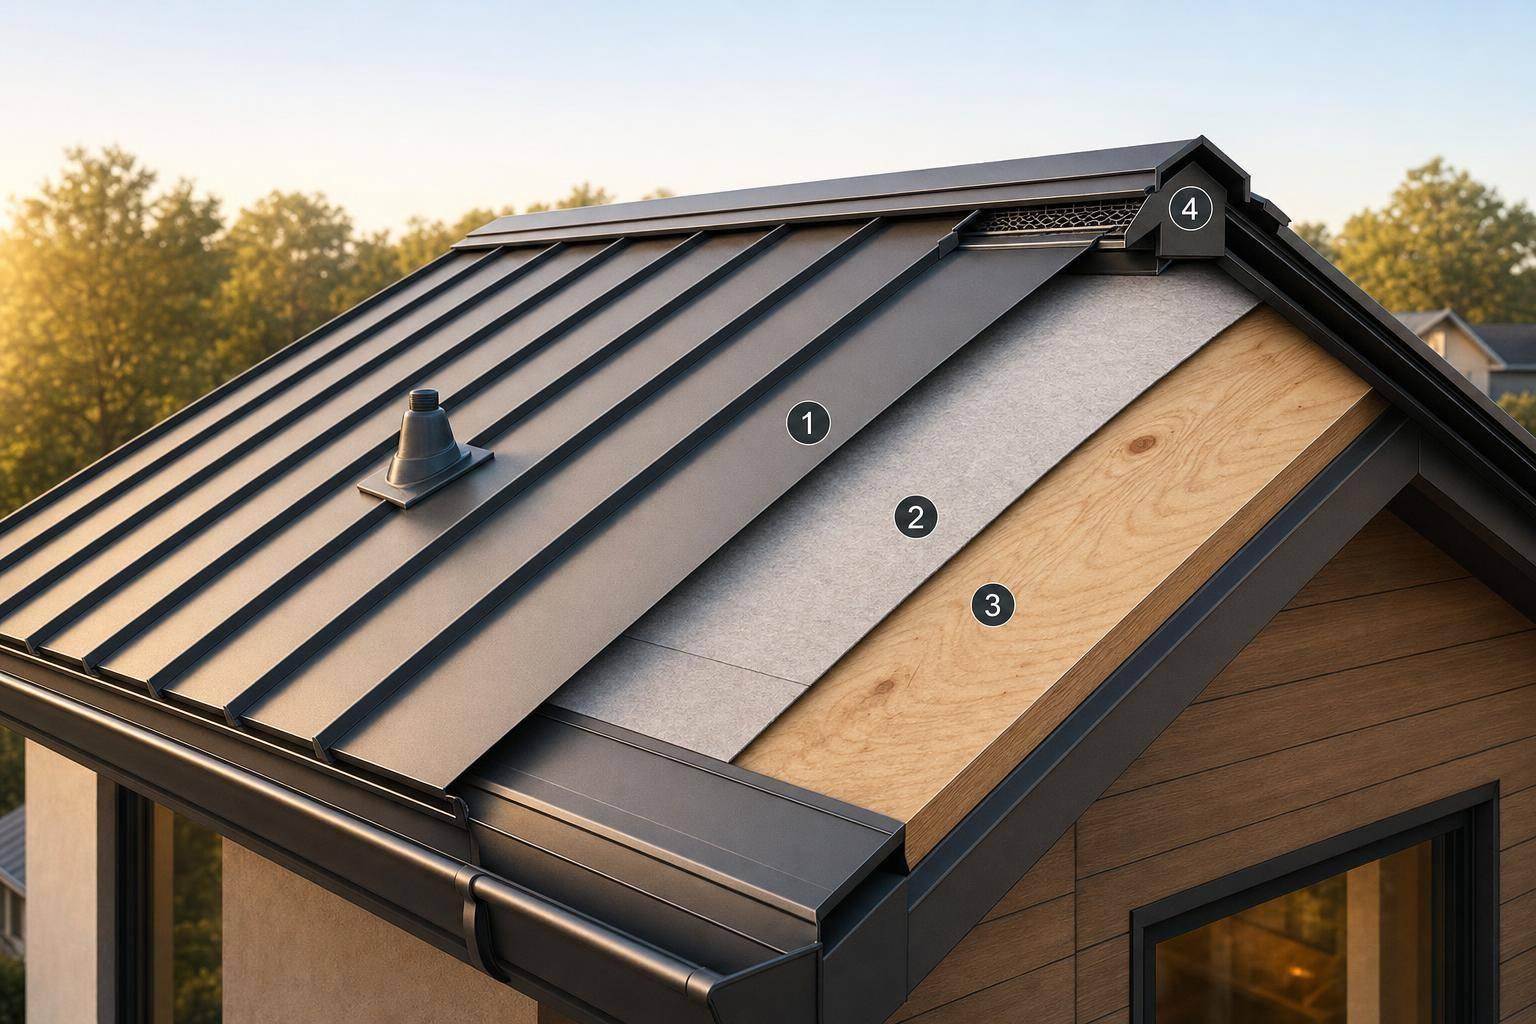
Metal panels installed over a noncombustible deck, like concrete, are usually Class A by default. But most homes use plywood or OSB roof decking, and that's combustible. That means the assembly needs a fire-rated underlayment to help protect the deck below.
Use only the underlayment named in the tested assembly. Swap in a different product, and you can void the rating. This is one of those details that sounds small on paper but matters a lot in the field.
Venting is another trouble spot. Standard mesh attic vents do not meet WUI rules. Approved vents have to be tested to ASTM E2886 and use baffled designs or intumescent materials that seal under heat, which helps keep embers out of the attic.
Here's a quick look at how each part affects the final rating:
| Component | Role in Class A Qualification |
|---|---|
| Roof Deck | Noncombustible deck = stand-alone Class A. Combustible wood deck requires a tested thermal barrier. |
| Underlayment | Must match the manufacturer's tested assembly listing; substituting a different product can void the rating. |
| Vents | Must meet ASTM E2886; standard mesh vents are not WUI-compliant. |
| Drip Edge | Protects the exposed edge of the roof deck. |
With those basics in place, the next step is looking at which metal materials and panel profiles most often support Class A performance.
Metal Roofing Materials and Profiles for Fire Resistance
Steel, Aluminum, Copper, Zinc, and Stone-Coated Steel Compared
Once you’ve nailed down the fire rating, the next step is choosing the material and profile.
That choice affects more than looks. It can change how well the roof sheds embers, how it holds up against corrosion, and how cleanly the edges and seams handle wind-driven fire exposure. In ember-heavy fires, the shape of the roof surface and the way the edges are finished can matter just as much as the panel itself.
Here’s how the most common options stack up:
| Material | Best Use Case | Ember Shedding | Assembly Dependent? |
|---|---|---|---|
| Steel | Standard inland homes | High; smooth surface sheds embers | Yes; requires Class A assembly |
| Aluminum | Coastal homes | High; smooth surface sheds embers | Yes; requires Class A assembly |
| Copper | Luxury/architectural accents | High; smooth surface sheds embers | Yes; verify the tested assembly |
| Zinc | Premium/modern architectural | High; smooth surface sheds embers | Yes; requires Class A assembly |
| Stone-Coated Steel | HOA neighborhoods | Moderate; texture can hold debris | Yes; requires Class A assembly |
In coastal Southern California, aluminum often lasts longer than steel. The reason is pretty simple: salt air can corrode steel and galvanized flashing faster.
Stone-coated steel is a common fit for HOA neighborhoods because it can look like wood shakes or clay tile while still being noncombustible. But there’s a trade-off. Its textured surface can hold more debris than smooth metal, which makes noncombustible closures at the eaves even more important.
Out of these choices, standing seam often gives you the strongest fire-focused detailing.
Why Standing Seam Profiles Are Often the Better Choice
Material plays a big part, but profile often makes the bigger difference when it comes to ember shedding.
Standing seam panels use concealed fasteners and interlocking vertical seams. That setup cuts down on weak spots where embers can get in. By contrast, exposed-fastener panels like corrugated metal depend on rubber-washered screws that sit right on the panel surface. As those washers age, small gaps can form, and wind-driven embers can slip into them. Standing seam avoids that issue.
There’s also the shape of the panel itself. A smooth, vertical profile helps embers slide off instead of getting stuck in grooves or corners. And the interlocking seams with concealed clips can help the roof stay in place during strong Santa Ana winds, which helps protect the roof deck underneath.
A properly installed standing seam roof can last 40 to 60 years in Southern California.
Installation Details That Support a Class A Metal Roof System
Once you pick the panel type, the next part matters just as much: the installation details. That’s what decides whether the roof performs as a Class A assembly in practice.
Most fire failures don’t start with the metal panels. They tend to happen at the weak spots - edges, valleys, vents, and penetrations.
Key Details: Eaves, Valleys, Flashing, Penetrations, and Closures
A properly built Class A metal roof system should include the following details.
Eaves and rakes need a metal drip edge to protect the roof deck edge. If you’re using tile- or shake-style profiles, add noncombustible bird stops or closures to seal the open cavity beneath the panels.
Valleys deserve extra attention because leaves and debris often pile up there. In California WUI zones, roof valleys must have 36-inch-wide metal flashing under the roofing material.
Flashing should be 0.019-inch corrosion-resistant metal flashing at wall-to-roof intersections, slope changes, and openings.
Penetrations matter too. Chimneys or other roof penetrations wider than 30 inches across the slope need a metal cricket or saddle to move debris and water away.
Attic vents are one of the most missed weak points. California code requires vents tested to ASTM E2886 that use interlocking baffles, intumescent materials, or 1/16- to 1/8-inch mesh to block wind-driven embers.
| Installation Detail | Fire-Resistant Requirement |
|---|---|
| Valleys | Min. 36-inch-wide metal flashing |
| Flashing Thickness | Min. 0.019 inch (No. 26 galvanized) |
| Vent Mesh Size | 1/16–1/8 inch, ASTM E2886 compliant |
| Drip Edge | Required at eaves and rakes to protect the deck edge |
| Penetrations >30" | Metal cricket or saddle required |
Underlayment, Gutters, and Clean Installation Practices
Underlayment has to match the tested assembly. Common fire-rated options include mineral-surfaced cap sheet, fiberglass cap sheet, or gypsum board. If the tested roof system used one underlayment, swapping in another can break the rating, even if it seems close.
Gutters are another easy-to-miss detail. In WUI zones, noncombustible metal gutters are required, and gutter covers can help cut down leaf and needle buildup that turns the roof edge into a fire risk.
California Code and Permit Requirements
In California WUI zones, re-roofing usually calls for a permit, a deck-stage inspection, and a final inspection. Chapter 7A of the California Building Code sets the fire-hardening rules, and AB 3074 expanded them to Very High Fire Hazard Severity Zones (VHFHSZ).
Before work starts, confirm that the full roof system - panels, underlayment, and deck combination - was tested together as a Class A assembly under ASTM E108 or UL 790. Ask for that paperwork in writing.
After installation, those same edges, vents, and valleys still need regular cleaning to keep the system working the way it was built to work.
Maintenance, Cost Planning, and Final Takeaways
Maintenance That Keeps Fire Performance Intact Over Time
A Class A metal roof still needs routine care. If debris builds up or small openings form, fire performance can slip.
Clean gutters and valleys twice a year. Inspect vents and flashing once a year. Keep tree branches at least 10 feet away from the roof. Before fire season, clear out leaves and pine needles from valleys, around chimneys, and near skylights. After any nearby wildfire, check ridge vents for soot intrusion and soffit vents for melted screens.
It also helps to do one close roof check each year. Make sure ridge caps still have intact closure strips and high-temperature sealant. Look at exposed-fastener screws for missing heads or heads that were driven too far in. Check that flashing is still tight and secure.
Around the house, keep a 5-foot noncombustible area with gravel or pavers. That cuts down ignition paths near the structure.
| Task | Frequency | Purpose |
|---|---|---|
| Gutter & Valley Cleaning | Twice yearly (spring/fall) | Removes debris before fire season |
| Branch Trimming | Annual | Maintains 10-foot buffer from the roof |
| Vent Screen Inspection | Annual / after nearby fire | Confirms ember-blocking mesh is intact |
| Flashing & Closure Check | Annual | Prevents ember entry at transitions and peaks |
| Zone 0 Clearing | Ongoing | Eliminates fuel within 5 feet of the structure |
Once the upkeep side is mapped out, it makes sense to look at the budget.
How to Budget for a Fire-Resistant Metal Roof
The price of a fire-resistant metal roof depends on a few big factors: roof size, slope, metal choice, and any Wildland-Urban Interface (WUI) upgrades the home needs.
For a 2,000-square-foot home in California, a standing seam metal roof usually costs $24,000 to $42,000 installed. Steel (Galvalume) tends to land on the lower end. Aluminum costs more. Copper sits at the top of the price range.
The panels are only part of the total project cost. You may also need to budget for:
- Ember-resistant vent upgrades: $500 to $2,000
- Noncombustible metal gutters with guards: $1,000 to $3,000
- Eave or soffit enclosures, if needed: $2,000 to $8,000
In California, labor costs and code rules can push installation prices 10% to 20% above the national average. The upside is lifespan. A properly installed metal roof can last 40 to 70 years. And if the home pairs a Class A roof with ember-resistant vents and defensible space, insurance discounts of 5% to 15% may be available.
Conclusion: Key Points to Take Away
Fire resistance depends on the whole roof system, not just the metal panel. Before signing a contract, verify the exact tested assembly. That means confirming the panels, underlayment, and roof deck were evaluated together under ASTM E108 or UL 790.
Standing seam panels can help reduce places where embers get in. But the small details do a lot of the heavy lifting. Eaves, valleys, vents, and other penetrations all need careful detailing if the roof is going to perform under fire exposure.
That performance also depends on upkeep. Twice-yearly cleaning, yearly inspections, and intact closures help the roof keep doing its job over time.
In the San Gabriel Valley, CAP Metal Build installs metal roofing built for durability and code compliance.
FAQs
How do I verify a metal roof is truly Class A?
Verify that the entire roof assembly - not just the metal panels - is tested and listed as Class A. That rating means the roof can stand up to severe fire exposure.
Look for proof that the assembly was tested to ASTM E108 or UL 790. Then make sure your installation matches the manufacturer’s testing report exactly, including the same components and installation method.
It’s also smart to confirm that your local building department accepts that exact assembly configuration.
Can I keep my existing vents and underlayment?
No, usually not. Fire ratings apply to the entire roof assembly, not just the metal panels. That means the vents, underlayment, and other parts of the system all need to meet current code and manufacturer rules for a fire-resistant installation.
Older vents may not offer the ember resistance required by current codes. And the existing underlayment may not match the tested assembly needed for a Class A fire rating.
Is standing seam worth the higher cost in WUI areas?
Yes - standing seam metal roofing can be worth the higher cost in WUI areas.
Installed, it usually runs about $7 to $14 per square foot. That’s a big jump up front. But in return, you get a roof that tends to last a long time, needs little upkeep, and can earn a Class A fire rating as a complete assembly. That matters in wildfire-prone places, where ember ignition and radiant heat are major concerns.
Its clip-fastened design can also help with attic temperature control, which is a nice bonus. For homeowners thinking about long-term safety and resilience, that extra layer of protection can make the premium feel worth it.